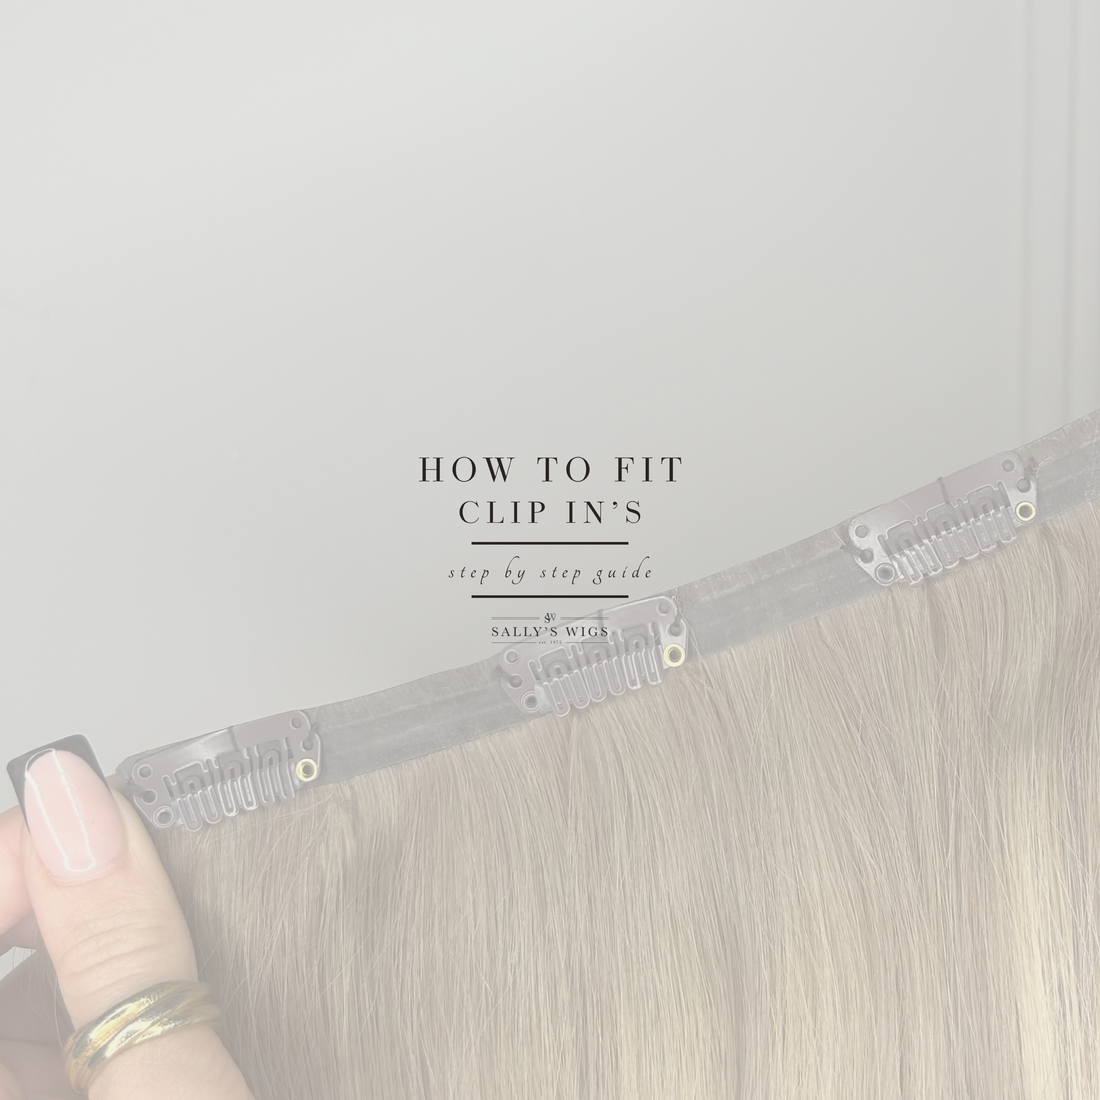
How To Fit Clip In's
Fitting clip in's yourself can be tricky, this step by step guide should hopefully give you some tips on how to make it go much smoother and give you a seamless blend!
A full set of clip in's will have different sized sections. If you have 2 smaller sections with 2 clips then these are for your fronts to fill in your sides - save these for the end.
The seamless clip in's have 3 back pieces and 2 side pieces. The luxury clip in's have 4 pieces without the individual side pieces.
Put the rest of the sections in size order from widest to smallest, the smallest section goes at the bottom near the nape of your neck. Work your way up so the widest goes at the top ( around the widest part of your head ). Then you can clip the smallest sections in to fill in your fronts!
S T E P B Y S T E P G U I D E|
YOU WILL NEED |
Tail comb to section & back comb, Hair spray for extra grip, heated appliance to style.
1.
Section your hair about 1inch above the nape of your neck. Use the end of a tail comb for a precise line. Back comb the section so that the clips have something to grip onto. You can also slightly hair spray the back combed section for extra security. Secure the smallest back section in, starting with the middle clip.
2.
Let your hair down, then section again about an inch above the first piece. Repeat the same steps with the next section. Remember to go from smallest to widest as you work your way up.
3.
Once you have fitted all the back pieces, following the same method for all, then you may have 2 side pieces left. These should be placed slightly above your widest piece and 2 fingers away from your hair line. Fit these the same way- section, backcomb then clip in.
4.
After you let your hair down you can style your hair as desired - If you curl your hair we recommend brushing the curls out with a wide tooth comb for the best result!


